Balder Intro Example
In this example, we will explore the key aspects of the Balder system. We start by writing a full test from scratch, then continue by adding tests that were already written for us through installation. Finally, we demonstrate Balder’s flexibility by porting our previously developed web tests to use a command-line interface and a Unix filesystem.
Instead of inventing a fictional example, we will test a real application. For this purpose, we will use Nextcloud.
What is Nextcloud?
Nextcloud is an open-source software platform designed for self-hosted file storage and collaboration. It allows users to set up their own cloud server, similar to commercial services like Dropbox or Google Drive, but with a strong emphasis on user control and data privacy. Individuals or organizations can manage files, share them securely, and decide who has access - without relying on external companies. (We will use installable tests for that in Part 2: Install Tests for NextCloud Web and Part 3: Reuse Web Tests for NextCloud CLI.)
The platform offers many more tools than just syncing files across devices. For example, it supports editing documents in real time, managing calendars and contacts, and handling video calls. However, in this tutorial, we will limit our testing to the file syncing module.
Preparations
Our tests will begin by testing the Nextcloud web interface. To do this, we will create a local instance of Nextcloud using Docker.
What is Docker?
Docker is an open-source platform that simplifies the process of building, shipping, and running applications. It does this by using lightweight, isolated environments called containers. These containers package your software along with all its dependencies in a standardized way. This approach is similar to virtual machines but much more efficient and portable, as it doesn’t require a full operating system for each instance.
Fortunately, Nextcloud offers a ready-to-use docker container that we can easily set up for our tests.
Install Docker
If you haven’t installed docker yet, please have a look at the official documentation.
To set up Docker on your system, you’ll need to install the Docker Engine, which is the core component for running containers. Additionally, make sure to include Docker Compose, a tool that helps you define and manage multi-container applications using simple configuration files. This setup is straightforward, but it varies slightly depending on your operating system. We’ll focus on Unix-based systems (like Linux) and Windows here, with links to the official Docker documentation for step-by-step guidance.
Linux User:
For Linux users, installing the Docker Engine is usually sufficient, as Docker Compose is now integrated as a plugin in recent versions. Start by following the official installation guide for your specific Linux distro, which covers adding the Docker repository, installing the engine, and verifying it works. You can find the detailed steps at the official Docker Engine installation page: https://docs.docker.com/engine/install/.
Note
Additionally, ensure that you install the Docker Compose plugin (often available as the package
docker-compose-plugin). If it’s not already installed, you may need to do so manually. For detailed
instructions and any additional commands, check the official Docker Compose documentation at
https://docs.docker.com/compose/install/.
Mac Users
For Mac users, setting up Docker is simple using Docker Desktop, which includes the Docker Engine for running containers and Docker Compose for managing multi-container setups. Download and install Docker Desktop from the official site, then follow the guided installation process, which handles everything including permissions and integration with macOS. The official guide provides detailed steps, including system requirements like macOS version and hardware: https://docs.docker.com/desktop/install/mac-install/.
Windows User
If you’re on Windows, you’ll need to use the Windows Subsystem for Linux (WSL) as the backend, since we are using a Linux container for Nextcloud. First, enable WSL through your Windows settings or PowerShell, then install Docker Desktop, which bundles the engine, Compose, and other tools.
The official guide walks you through this process clearly, including WSL setup.
Visit the Docker Desktop for Windows installation page at https://docs.docker.com/desktop/install/windows-install/ for the full instructions.
Once installed, you can test everything by running a simple container from the command line.
Create a Docker Compose File
To make our lives easier, we will set up a Docker Compose file. These files simplify managing containers, especially since we are going to extend this setup later in the tutorial.
Let’s get started. First, create a new project directory. Then, copy the following content into a file named
docker-compose.yml within that directory:
services:
  nextcloud:
    # project https://github.com/nextcloud/docker
    image: nextcloud:stable
    environment:
      - SQLITE_DATABASE=nextcloudsqlite
      - NEXTCLOUD_TRUSTED_DOMAINS=nextcloud
      - NEXTCLOUD_ADMIN_USER=admin
      - NEXTCLOUD_ADMIN_PASSWORD=Admin12345
    ports:
      - 127.0.0.1:8000:80
We have made some definitions here. We want to use the local SQLite database, which is sufficient for our testing demo.
We also want an admin user with the username admin and password Admin12345. Additionally, we want to bind the
container’s port 80 to our localhost port 8000. This is necessary so that we can access the web page from our host
machine.
You can start your Compose environment by calling:
$ docker compose up -d
This command will start the containers defined in the Docker Compose file. You should see output similar to the following:
[+] Running 2/2
 ✔ Network project_default          Created
 ✔ Container project-nextcloud-1    Started
Note
Don’t forget to shut down your container when you are finished, otherwise the container will continue running. You can do this with
$ docker compose down
Verify NextCloud is running
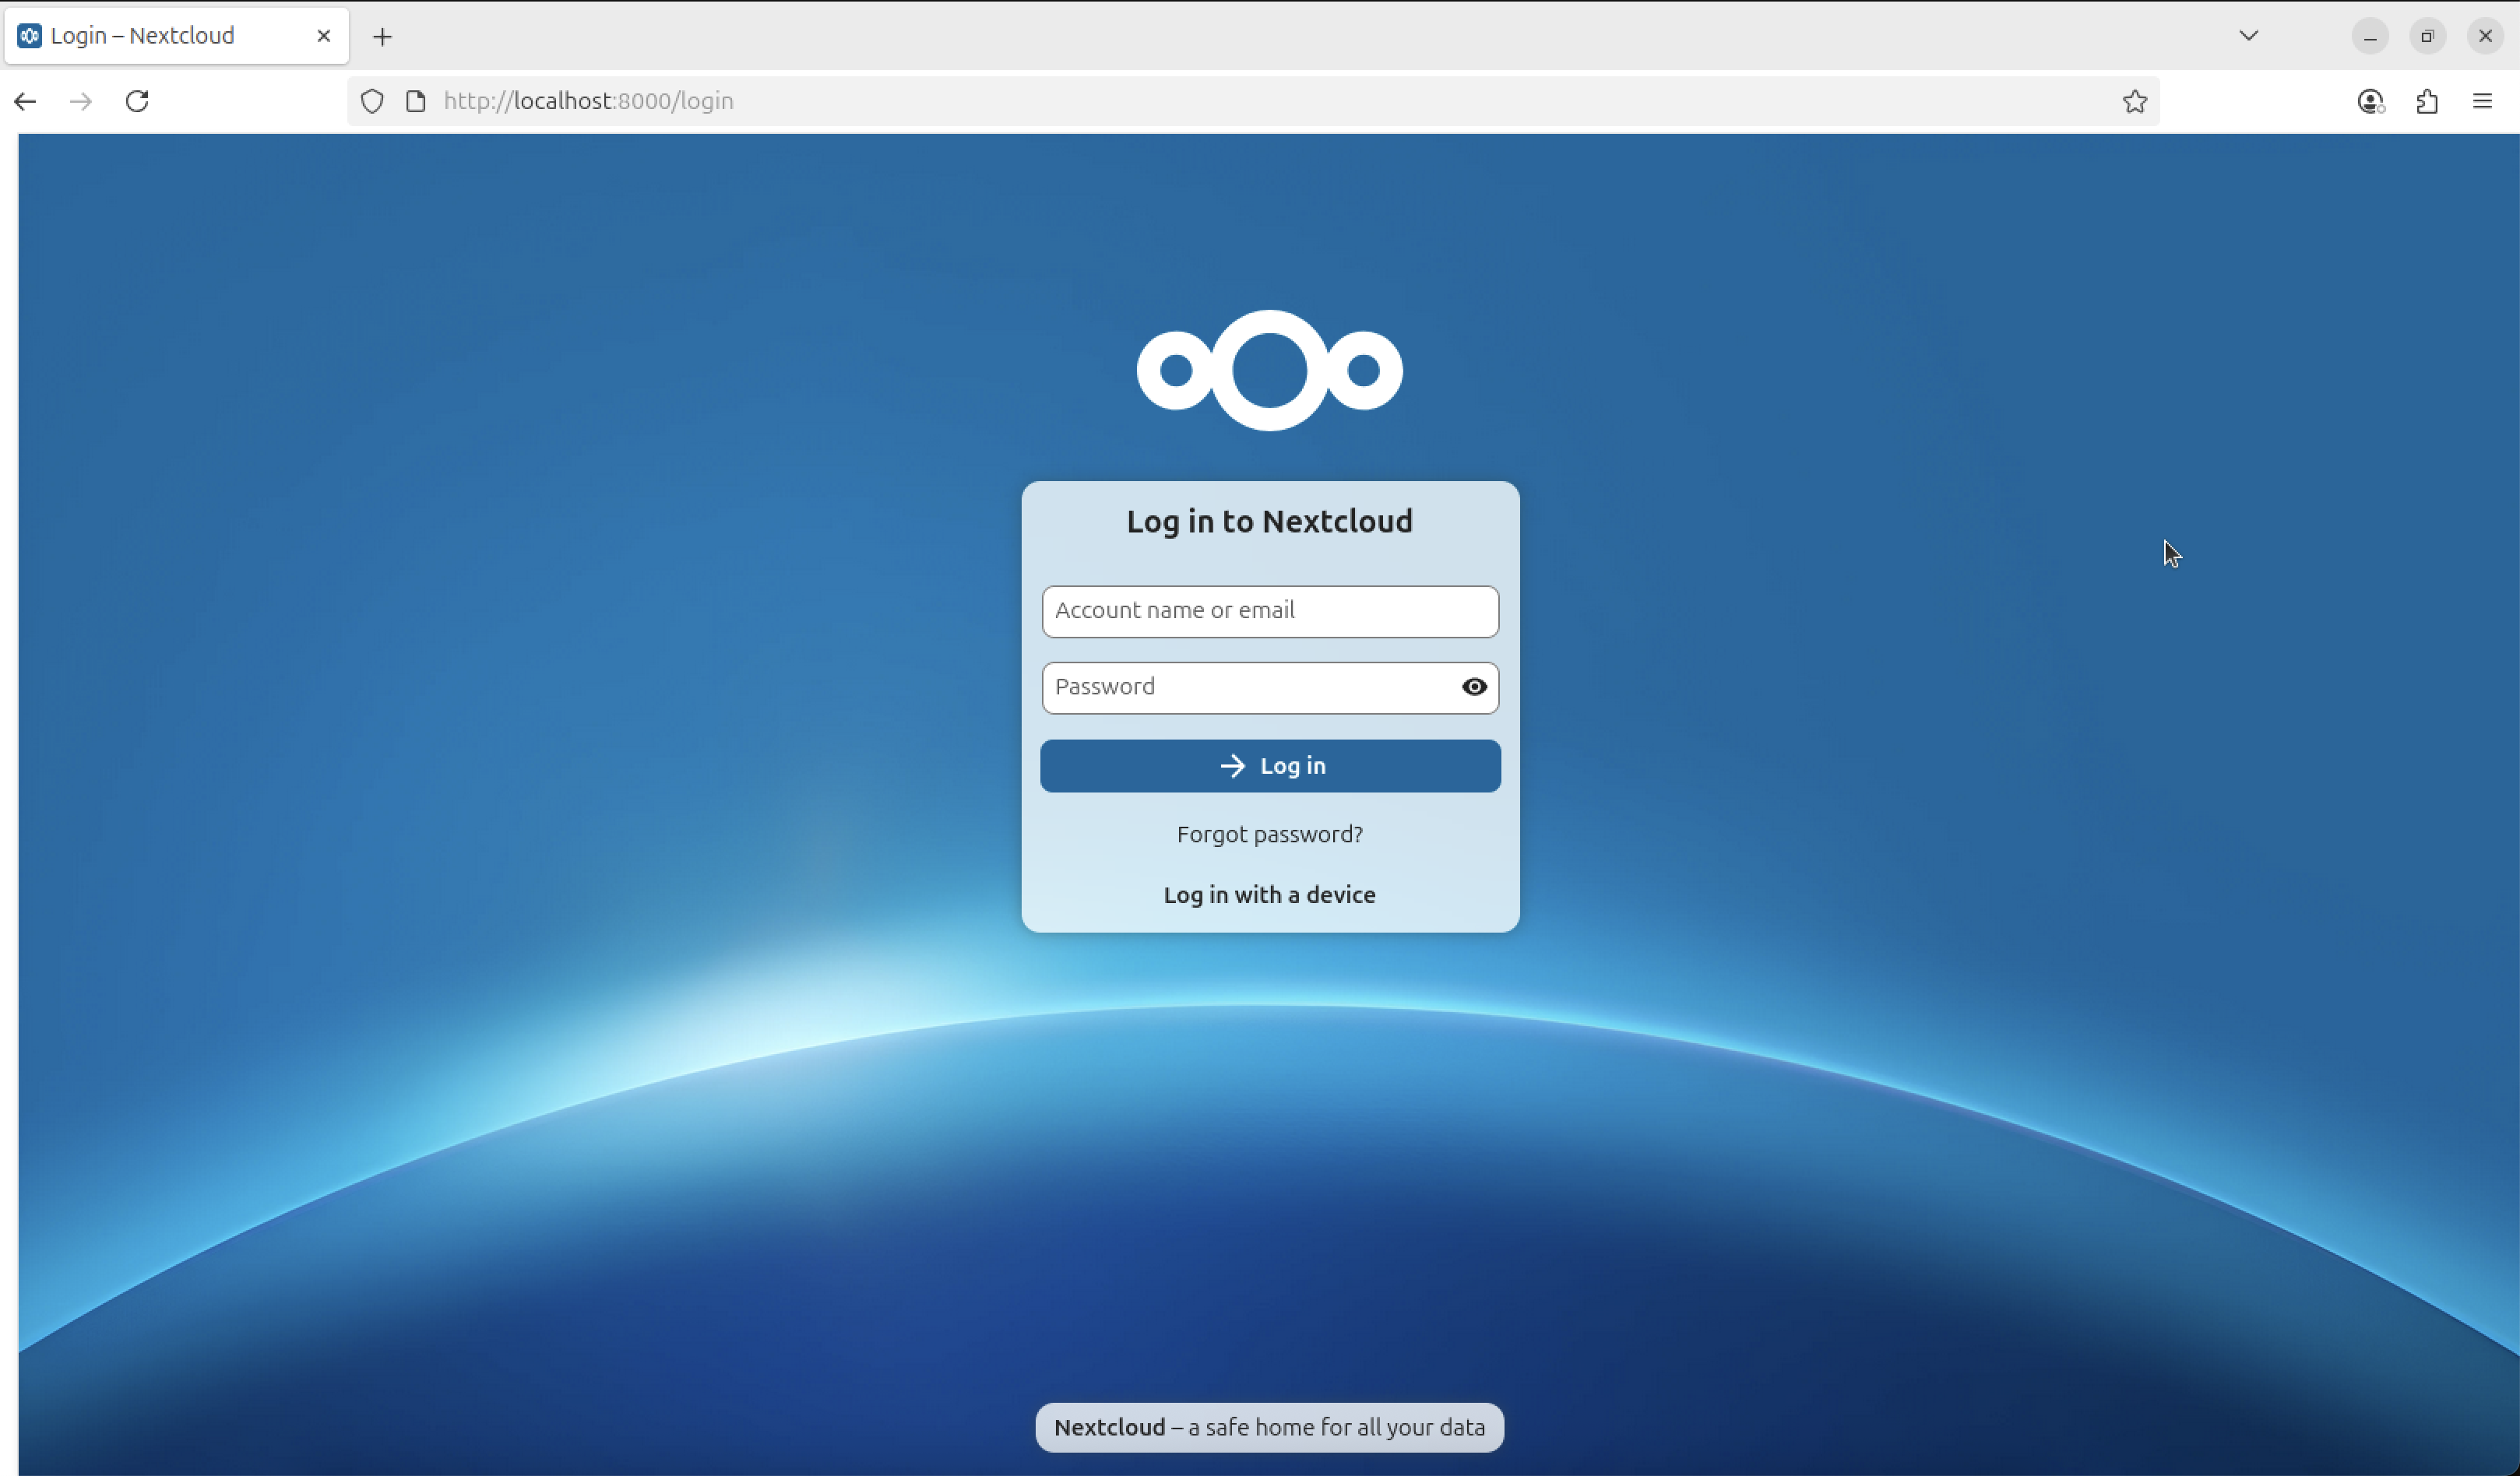
As soon as we start the containers with docker compose, the nextcloud application should start. You can verify that by opening a website with http://localhost:8000.
You should be able to see the login screen:
Once you start the containers using Docker Compose, the Nextcloud application should be up and running. To verify this, open your web browser and go to http://localhost:8000.
You should see the login screen:
Set Up Selenium
We want to test the web app using Selenium as the GUI control engine. To do this, make sure you have a working WebDriver that Selenium can use to control the browser.
If you prefer to use your local browser, check the official documentation for instructions on setting up your system.
Alternatively, you can use Selenium Grid, which runs in its own Docker container. This lets you test in an isolated
environment. If you want to go this route, add the following service to your docker-compose.yml file:
services:
  nextcloud:
    ...
  firefox:
    image: selenium/standalone-firefox:4.35
    shm_size: 2gb
    ports:
      - "127.0.0.1:4444:4444"
This configuration allows you to establish a remote connection with Selenium. You can access the web frontend at http://localhost:4444/, which lets you view active sessions and connect to them.
Restart your Docker Compose environment to start this container too:
$ docker compose down && docker compose up -d
When you open a web browser and navigate to http://localhost:4444, you should see the Selenium Grid interface. Once a Selenium session becomes active, you can use this interface to connect to the container and observe what the test is doing.
Set up Python
Now that we have prepared the environment, the final step is to set up Python and install all the dependencies needed to run tests with Balder. To do this, let’s create a virtual environment.
Set up virtual environment
Virtual environments allow you to separate your system’s installed packages from your project’s dependencies. This way, you can install project-specific packages only at the project level, without affecting your system packages. For more information about virtual environments, check out the official venv documentation.
You can create a new virtual environment simply by running the built-in command. Navigate to the root directory of your new project (where you stored the docker-compose.yml file) and execute the following command:
>>> python3 -m venv .venv
This command will create the virtual environment.
After creating the virtual environment, you need to activate it. The activation command depends on your operating system:
OS |
Shell |
Command |
|---|---|---|
POSIX |
bash/zsh |
$ source venv/bin/activate |
POSIX |
fish |
$ source venv/bin/activate.fish |
POSIX |
csh/tcsh |
$ source venv/bin/activate.csh |
POSIX |
PowerShell Core |
$ source venv/bin/Activate.ps1 |
POSIX |
csh/tcsh |
$ source venv/bin/activate.csh |
POSIX |
PowerShell Core |
$ venv/bin/Activate.ps1 |
WINDOWS |
cmd.exe |
C:> venvScriptsactivate.bat |
WINDOWS |
PowerShell |
PS C:> venvScriptsActivate.ps1 |
Note
You must activate the virtual environment (using the appropriate command from above) in every new terminal session before you can use it.
Install requirements
Before we begin, make sure to install Balder in your new virtual environment:
$ pip install baldertest
Since we are using Selenium for browser automation in this tutorial, you should also install the balderhub-selenium
package. This package provides features you can directly use later on. Run the following command too:
$ pip install balderhub-selenium
Now that we are all set up, we can begin the hands-on part of the tutorial. In this first section, we will focus on testing the login mechanism of Nextcloud. Let’s dive right in with Part 1: Develop a Login Test from Scratch.